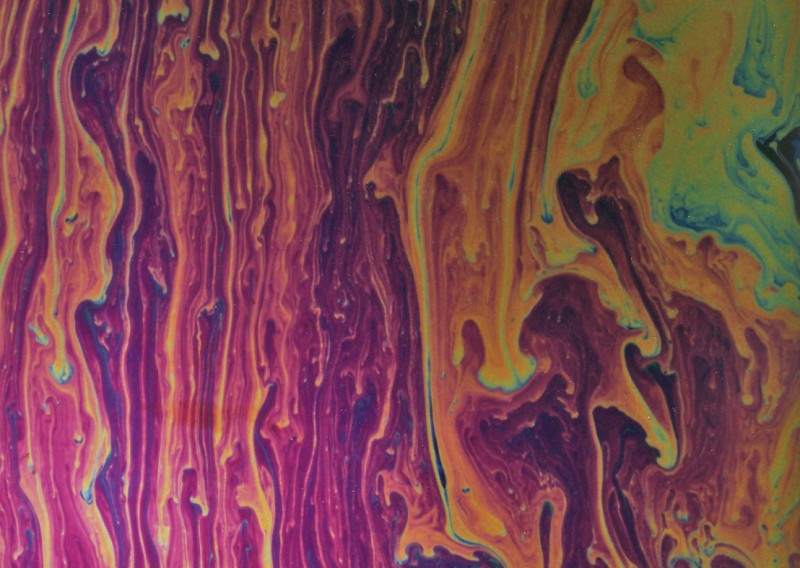
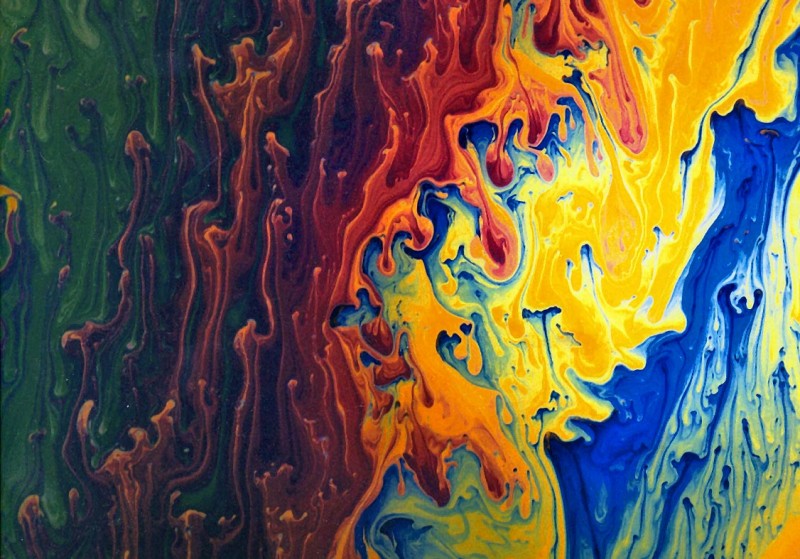
Here’s a new item for our category of soap bubble pictures. The movie shows a science-centre-style demo, not of a bubble, but of a soap sheet. It’s a way of showing patterns like the ones that appear on bubbles, but streaming down a huge sheet. The quality of the movie is not great, so here’s a still photo that shows the effect.
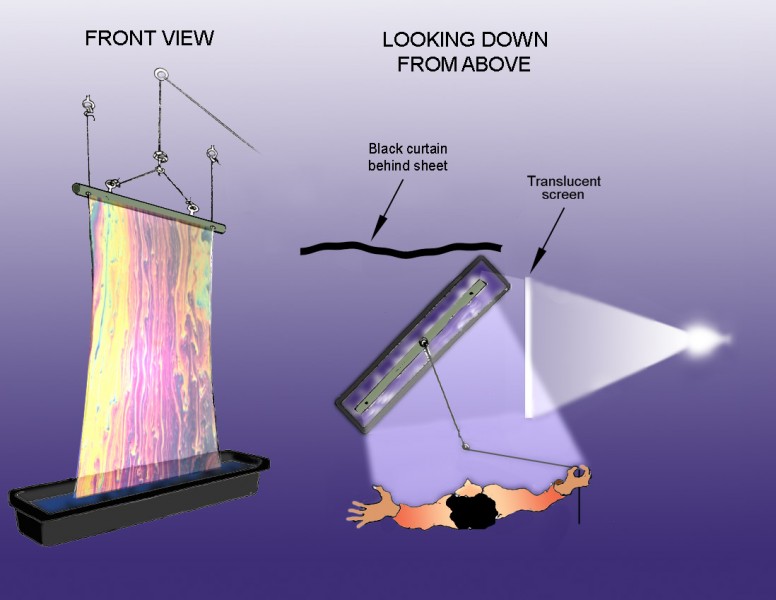
I think this was originally a Victorian demonstration, but I don’t have chapter and verse for that. It’s a demo you sometimes see in hands-on Science Centres, but often it’s not set up so that you can really see the colours. For that there has to be a black background to the sheet, and a translucent screen, at an angle of forty five degrees to the sheet, brightly illuminating it.
I’m fascinated by patterns like these. Just setting patterns in motion, as in many screen savers, doesn’t seem to me to produce effects that are as beautiful. I don’t think it’s just the colours. If we could characterise what makes these patterns special, might we then open up a whole new world of visual expression, using computer animation? Or would we just end up with a small repertoire of pretty effects?
Fancy trying to set up your own soap sheet? It’s not so hard.
I think you’ll be able to see how it works by looking at the movie before examining the diagram. At the bottom of the demo is a plastic trough – they have them where I am, in the UK, in garden centres. It wants to be a metre and a half or so wide. It acts as a reservoir for the soapy water. The mixture for this demo needs to include glycerine, (usually available in pharmacies) as well as washing-up liquid and water. Proportions are a bit trial and error, but try half a bottle of glycerine, half a bottle of washing-up liquid, and water to a depth of five or so centimetres. So it’s a thickish goo, though still a bit more runny than single cream. It needs to be well but gently mixed (no foam) and then left to stand overnight – I found that to be important.
Running up from the trough are two nylon threads, about a metre apart. I get those from shops that sell stuff for fishing. Get a medium weight thread. Somehow you have to glue or trap fixing points for the threads to the bottom of the trough. Obviously, you have to do that without making holes in the trough, so you have to use a really waterproof adhesive, or devise a base with holes in it lying clamped in place at the bottom of the trough. The tops of the threads are attached to some solid armature. The threads want to be just pulled straight, but not tightly, so that they are left with a bit of play in them. That’s because the surface tension in the sheet has to be allowed to pull them in a bit – otherwise the sheet doesn’t last more than a few seconds. The threads run through holes in a horizontal rod – I usually used a sawn-off old broomstick – attached as shown to a pulley. Then the rod can be first lowered into the liquid, and then raised slowly to draw up the sheet.
It’s vital to be gentle, and especially not to drop the rod into the liquid so that it foams. You may note too that in the drawing to the left, just above the apex of the triangle of cord supporting the rod, there’s a nut tied into the cord. That was to stop the sheet being pulled up too far.
Getting the whole thing just so takes quite a bit of practice, but if it’s working well, your sheets should last half a minute or so, with dramatic transformations in the patterns.


Has anyone on a space mission attempted to make a soap wall in microgravity?
Great Idea – the patterns we get down here depend on gravity driven streaming, so the turbulence would be quite different. Unfortunately the rig is pretty messy to set up and operate.